


Final Bout . With the Altezza….. where to even begin. I remember the day that G say we got an invite for Final Bout Gallery. It seemed so surreal, we had sponsored the event in the past, travelling to Chicago to spectate at Final Bout II and establish Touge Factory as our US distributor. Again a few years later were sponsoring and heading to PARC to have a booth at Final Bout West. The idea of getting our cars across the continent to drive at USAir seemed so far fetched and unlikely for our small business. To say that “we” got the invite was also a bit of a stretch, Gerard was invited by Illia and he just paid twice his entry fee and we just hoped / assumed all would be good LOL.
At that time the only car I had was the G35 sedan I built “Just to back out on track quickly” that build took way longer then I wanted and when done it never sparked joy the way most of my other cars did. Taking the LHD G35 didn’t feel right for SERIALNINE. That car did have some production parts we make, as well as some prototype pieces, but most was from other companies and to me was never a true SERIALNINE car.

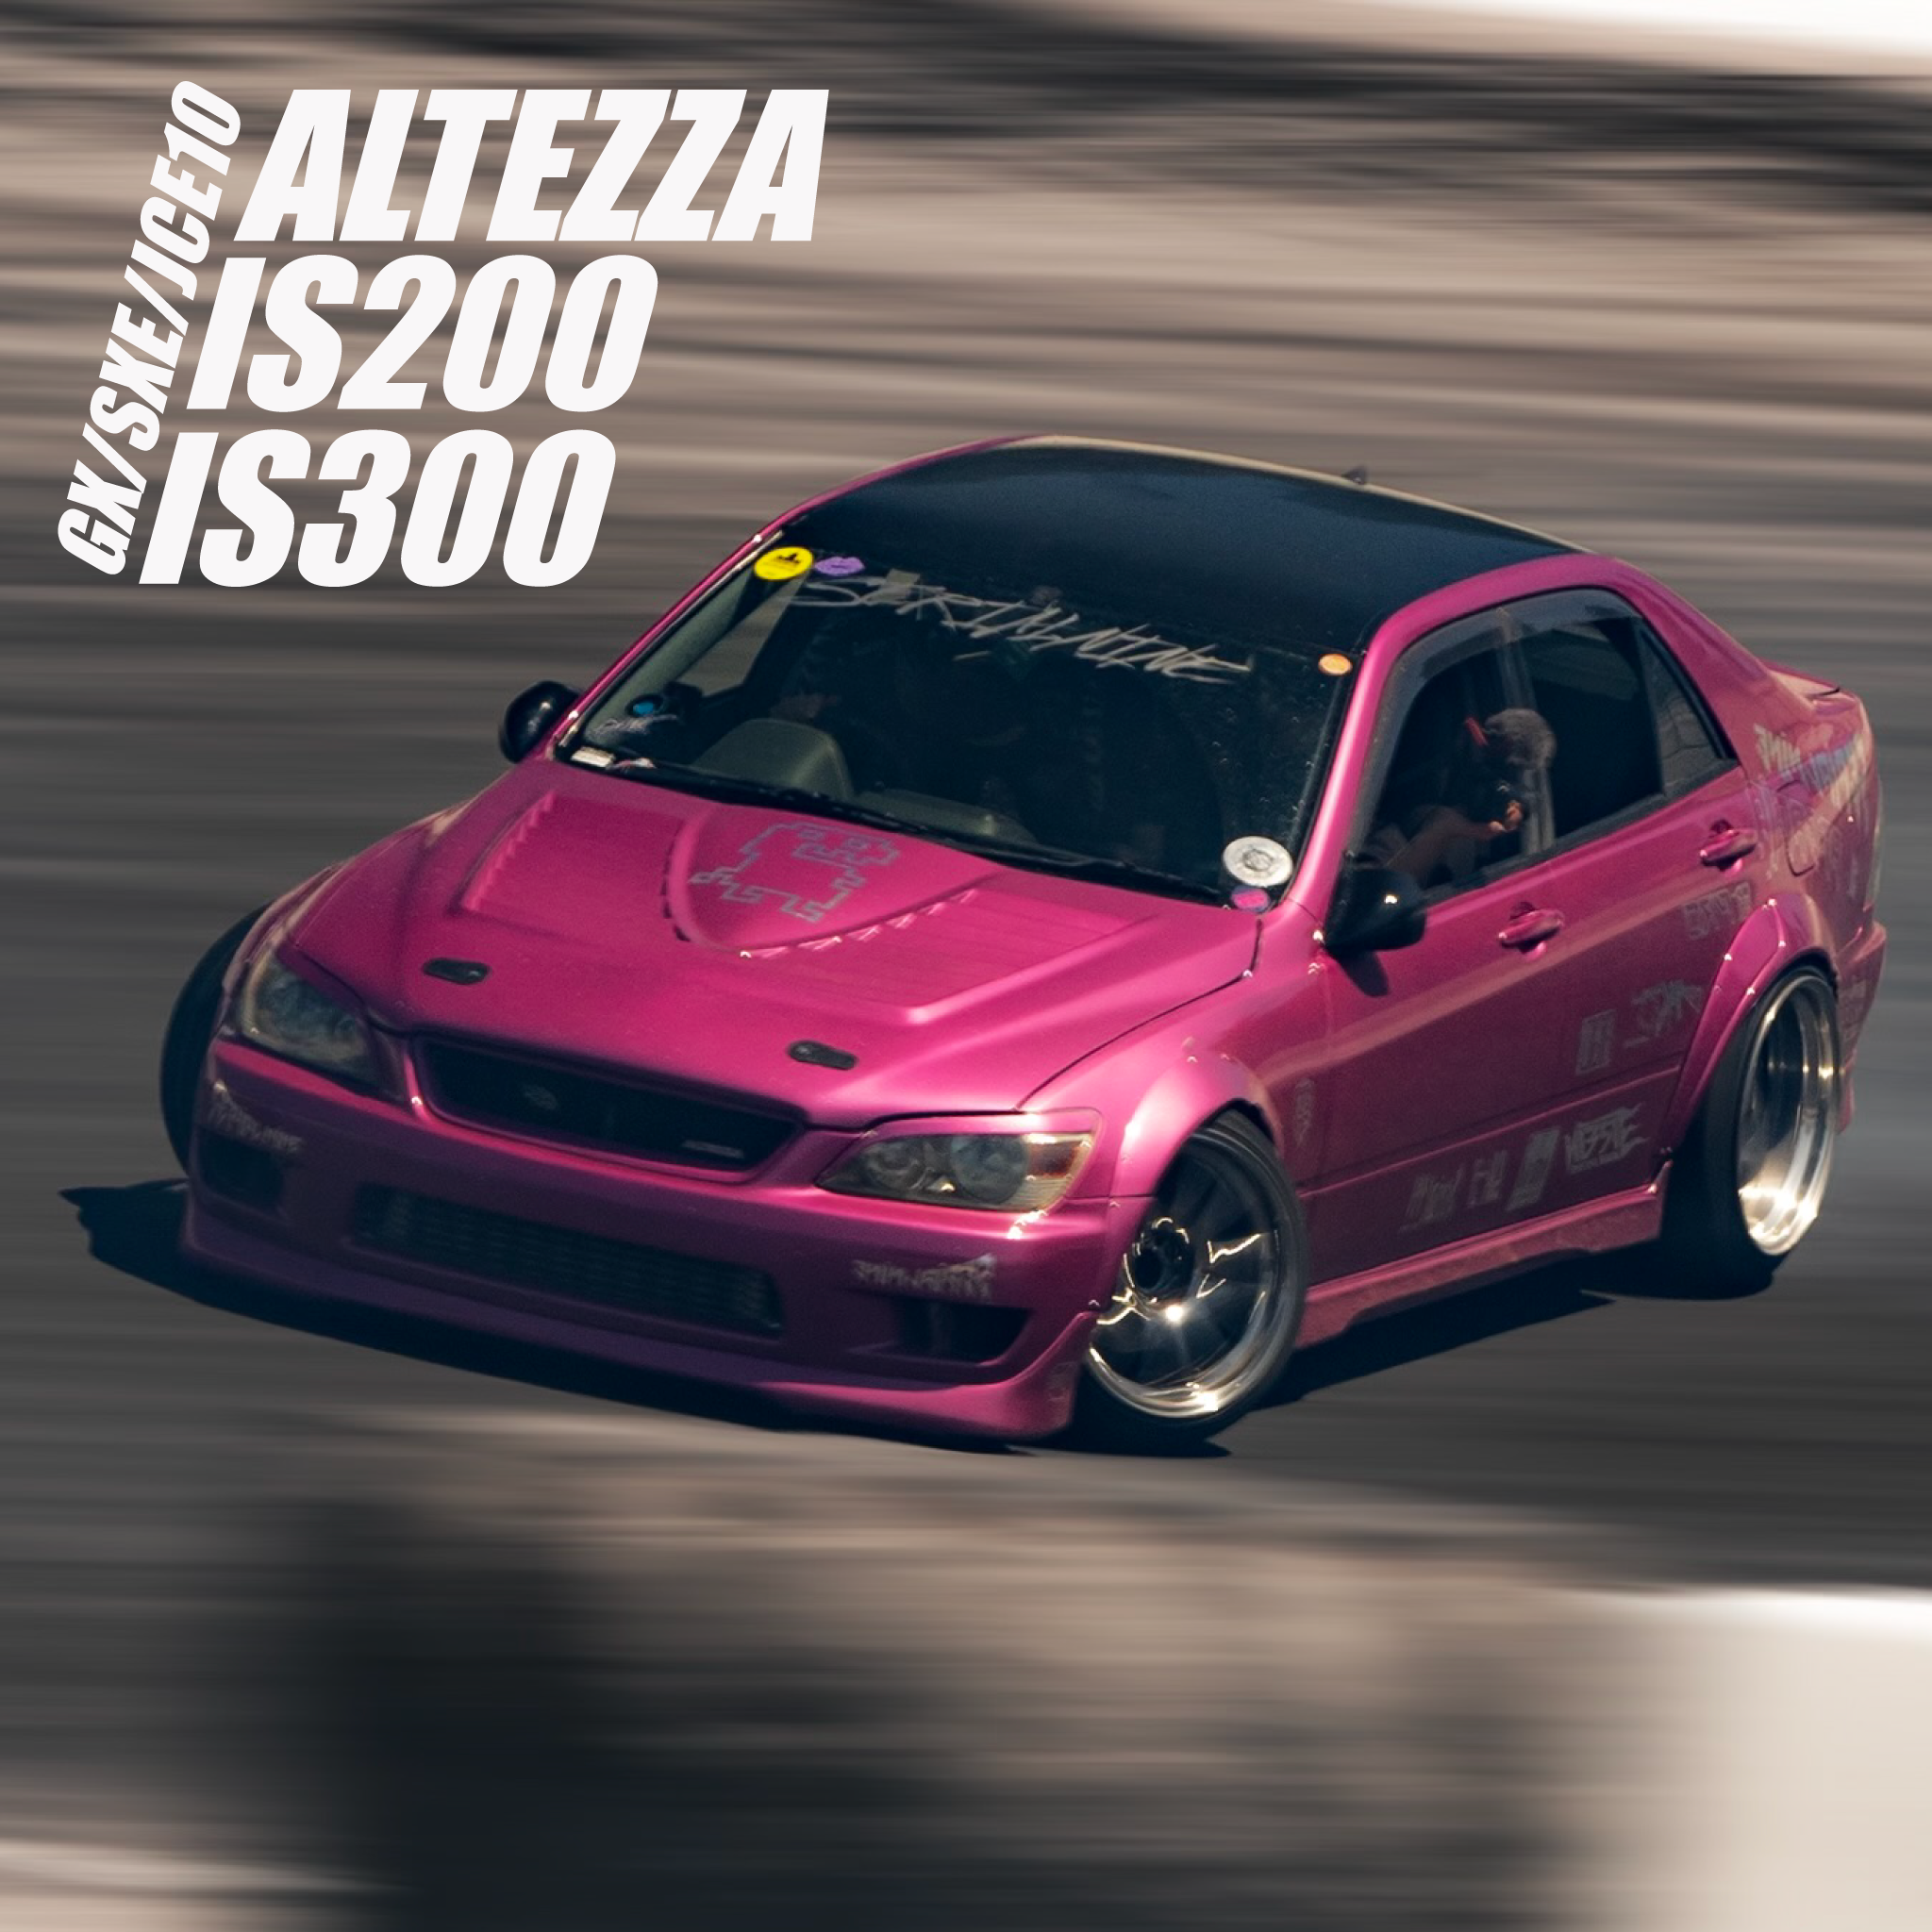
We were trying to decided on / find a chassis for me to build and drive at Final Bout. It HAD to be a Sedan, Toyota and Turbo JZ powered those were the only stipulations I was firm on. There were a couple of half done JZX100s around, I could get a JZX110 Mark II from Japan for cheap and in little time. This was also the time when Gerard was getting rid of his JZX110 Verosa so these were all options I was toying with. The Altezza I already owned had been siting for 3 years with the Beams and J160 pulled at the time. Collecting dust with a half finished wide body, I had also pillaged all the suspension parts for Eric’s JZX110. I had seriously considered getting rid of the shell as it was just taking up space. Ultimately, I’m supper happy with the outcome and have found new love for a car that I was close to throwing away and only chosen due to time and funds constraints.
When we traveled to USAir last time we noticed that some teams had traveled VERY far to be side lined by seemingly small issues. We both knew that couldn’t be an option for us. We needed to have our cars dialed and ready and then have spares of almost every component. I wanted my car mechanically done and driving 4 weeks before we left, that way I just had to do the body work and had ample time to shake out any bugs. This didn’t happen to say the least, driving the car onto the trailer on our departure day was the first I had driven it and this was EXACTLY what I didn’t want to be doing.

Once I had decided to revive the Altezza as my new drift chassis, I pulled the subframe and took it to Dylan at Top Coat Powdercoating. I had seen this colour on some pieces he had doe before and was in love. One thing I loved about my Celsior was how clean the underneath was and the just sea of white powdercoated arms and struts with green Aluminum bushings and collars. I wanted to try and have that same feeling looking at my Altezza. I also needed to find a engine which considering how many JDM cars are in Vancouver was surprisingly hard.

I found a few engines one province over and had our old friend Alex Lee go take a look in person for me. Once we found one, we thought would be good we had it shipped over and ordered all of the maintenance and a few fun parts such as water pump, Valve cover gasket, VVTi seal and Solenoid, ATi damper and
DM E-Throttle delete and pulley set. I slowly did the work to install those parts as Spectrum Motorsports was working on my turbo I had told him I was keeping the engine and ECU stock and that I wanted a factory bolt on upgraded turbo.

Once I had the subframe back I installed our new laser etched subframe bushings and put it back in the car. From here I was able to put the rear arms in and attach the hubs, It was almost a roller. We dollied it over from where it had been sitting for the last 3 year and on to the hoist where I began working on mounting the Blitz intercooler. I moved it up from the factory location the tabs for this JZX110 kit wanted it to sit till it was above the lowest point of the lower rad support. This will prevent it from getting munched from having the car extremely low.


Now I installed my revalved 20kg 14kg STANCE XR1 coils with all the stock arms I figured this way once the engine was done, I could drive it and then do all the suspension after at once. Then we swapped the smaller SXE10 LSD diff for a larger open JZX110 diff and got it welded. While that was happening, I got the rear cover polished for that full Camaro look.
Right around this time my new wheels arrived, feeling very nostalgic about getting to drift with Gerard again and all of the drift cars I had built in the past, I wanted a small wheel look on this car so I went with the Enkei NT03 in 17” I had always loved these wheels and wished I had gotten then instead of the 18” Work MCOs I had in the previous stage of this car. One of the aspects of the Altezza that I was most excited about was being able to showcase OUR products and the only chassis that we make more products for then Altezza was the Aristo and I have a friend with a pretty crazy one.

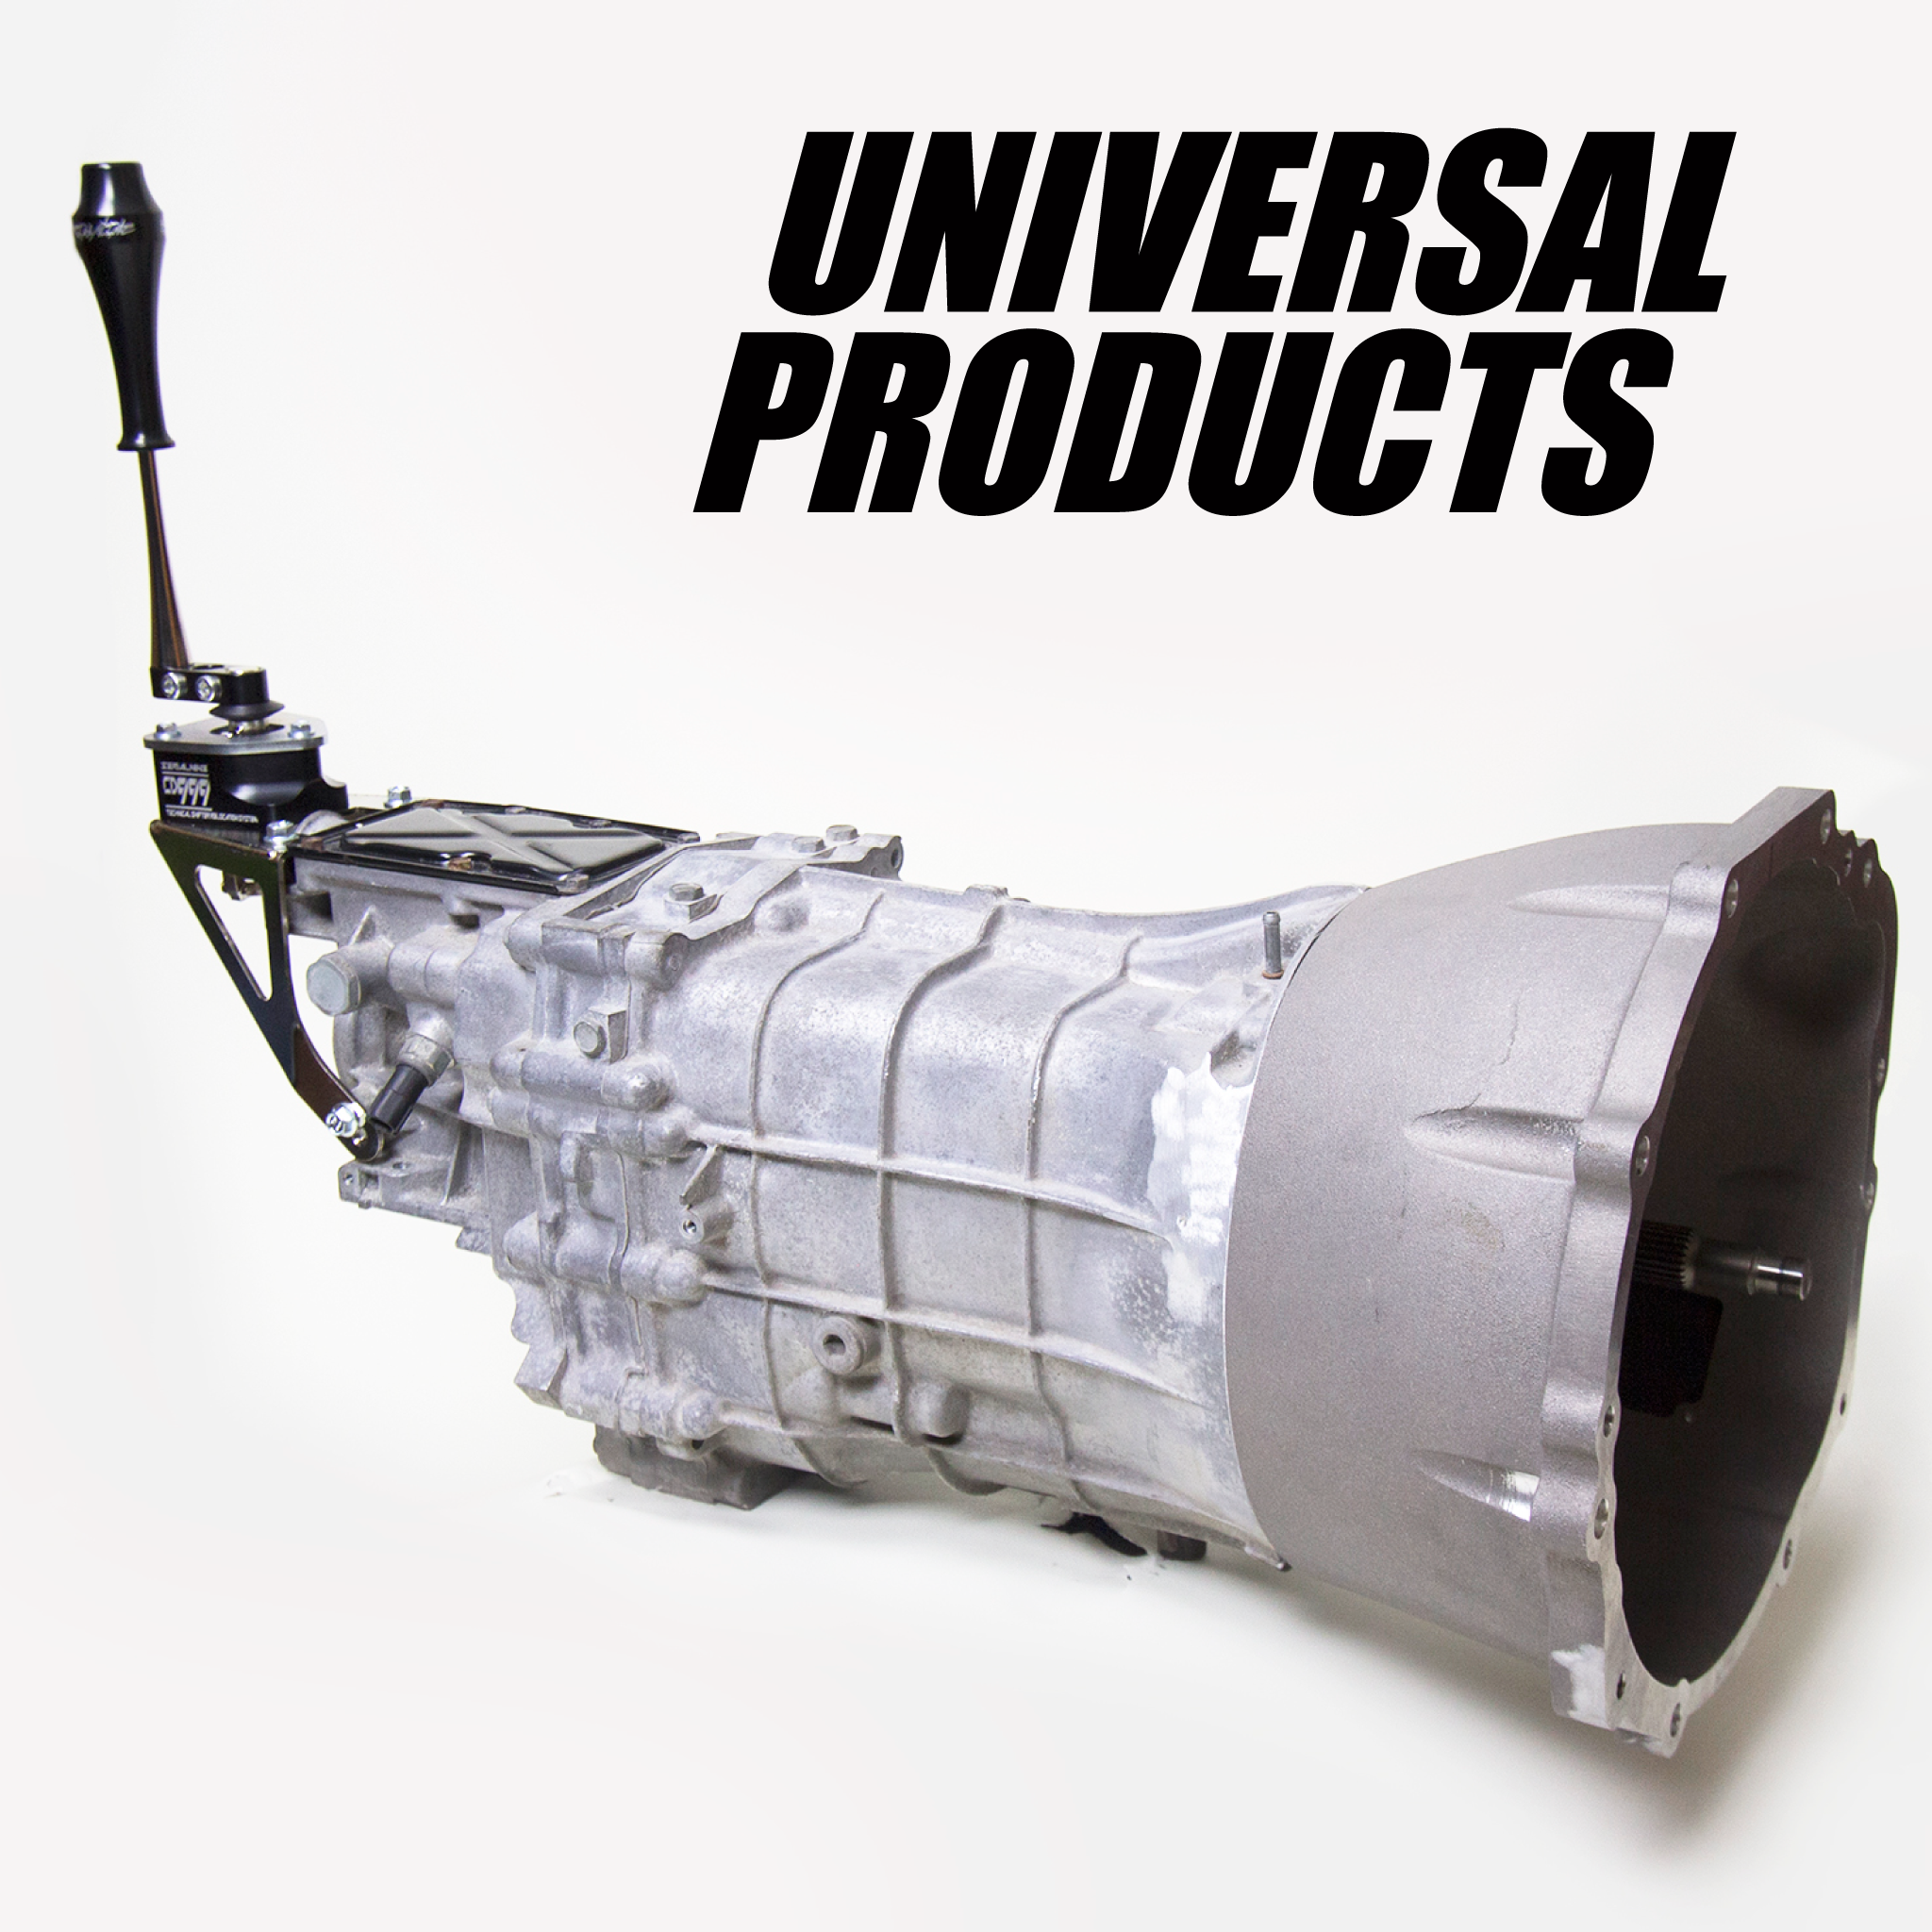
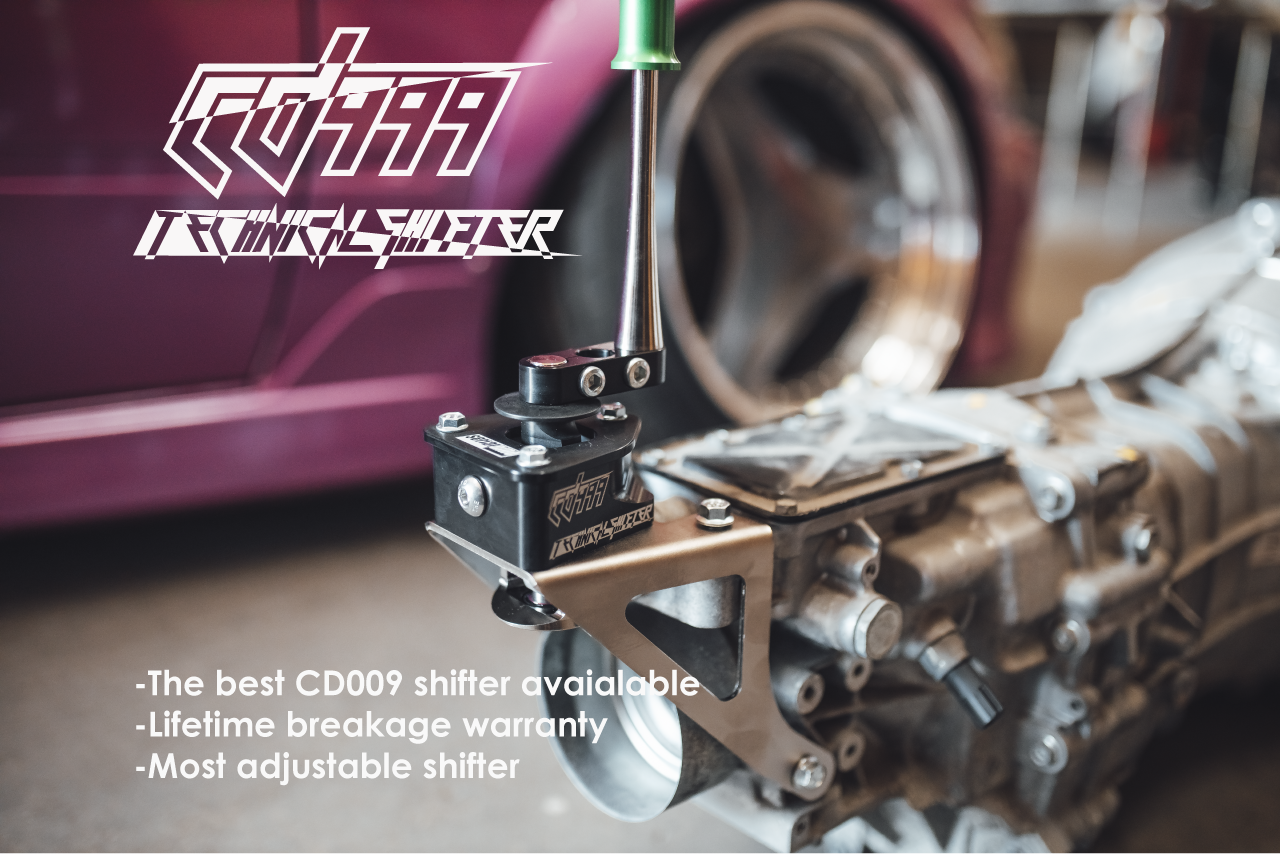
Waiting on a few seals still, I turned my attention to the transmission, I was going to be running our CD Pro bellhousing with CD999 shifter. For the clutch I decided to go with the Tilton triple metallic clutch this is the best track / Heavy street use clutch we have found and when taking 2 cars to events to makes sense to try and share as many components. Once I had the turbo back was able to make the Oil feed and drain lines and the engine was ready to be installed.
With the last of the engine buttoned and sitting in place I could now work on the intercooler piping and get the transmission in so I could measure for a drive shaft. This was March 30th giving us 6 weeks till we were supposed to be leaving. Time was running short so I started devoting more time to work on the car while still maintain the same customer service as always for SERIALNINE. I moved on to the fuel system, which would now consist of a new pump, filter and return line. I was able to move the factory feed across the back of the engine and attach it to the rail so I didn’t need to make a new feed line.

Okay A few things about swapping the SXE Altezza with a JZ engine. All of the fuel and brake lines are on the wrong side, By this I mean that on an IS300 all of the lines are on the left side and the exhaust on the right side. On the BEAMS all the lines are on the right side as the exhaust is on the left side. So now with my / your JZ powered Altezza your exhaust runs right beside your fuel and brake lines unless you move them. I chose to cover them in heat management materials and monitor them. So far even the plastic zip ties holding the heat materials on are still good so I think the lines under should fare okay.
To finish off the cooling portion of the car I chose a Koyo IS300 Radiator I absolutely love the rad my only gripe is that you need to buy the cap separate. The IS300 rad bolted directly into the Altezza and once I had the OEM IS300 fans I was good to go, the Altezza fans mount to the rad differently and will not work. The car also has a small thermostatically controller oil
cooler, all of my previous JZs ran hot and
liked the additional oil capacity.
I had a pretty good idea of where the tunnel needed to be hammered from dealing with so many CD swaps in the past. I knew that 9” from the front of the bellhousing the tranny gets very large and square so I began massaging those sections of the tunnel wider at the top. Once I had done what I thought was enough we dry fitted the transmission up into place with out the flywheel or clutch on. This makes it a bit easier to place on and off the engine. I measured my drive shaft length and it was off to see Harley at Drive Products to get the shaft made. Despite my experience I still needed to hammer a few spots more, Removing the tranny again also made cutting the hold for the CD999 shifter much easier.
Now that we had installed the CD Pro Multi Flywheel and a brand-new Tilton Metallic Triple plate clutch, it was time for the CD009 to go in for the final time. Once that was buttoned up, I was able to put in my new 1 piece drive shaft. This bolts directly to the JZX110 diff and has the 350z slip yoke required for the CD009. Money was a factor and I had to go with a 1 piece steel as opposed to the 1 piece Aluminum on the Aristo. With the drive shaft done the only thing stopping this from being a fully running driving car was the exhaust and wiring.


When talking to Chris of Spectrum Motorsports I had told him that I was going to keep the fuel and ecu stock for now. He provided me with a bolt-on turbo for VVT-I 1JZ. This turbo is the first of a new line of turbochargers they are rolling out this year, built around an all-new ceramic B.B. CHRA. It has a 51mm Billet compressor wheel inside a new ported shroud housing and 55mm turbine wheel it also comes standard with the Tial actuator pod and heim-joint arm.
We were getting closer to having the car mechanically done and I had a guy lined up to do the wiring but after seeing several of the cars that he had done recently I decided that I didn’t want to have any issues at all here or especially after bring my car across the continent and that our buddy Paulo from AES Auto was the man to do the wiring and ECU. He suggested and was most familiar with ECU masters, I had also heard good things so was willing to try it out.
I was hunting for RHD friendly turbo Elbow, as another “Bonus” of the JZ Altezza is now along with all your brake and fuel lines and steering column now you need to cram a turbo elbow/ downpipe in the same spot as well, I looked online at some brands such as Odyssey fab and Future Fab. None were in stock with the features I wanted which were a recirculating wastegate and non V band I also needed it like yesterday. I ended up going with Tomei from TF Works as I knew that 1000% it would work with my RHD steering column and I could get it within a couple days. The day I picked it up I’m at a neighbouring shop and see the Odyssey fab RHD one for a 1JZ Altezza project they were working on. This had waste gate plumed back into the exhaust and much straighter shot out of the turbo then my Tomei….
Building a car on a short time frame almost always means that you need to make sacrifices and the exhaust was no exception. I went forward with the Tomei turbo elbow and started making the actual exhaust. Gerard’s Aristo has a thin wall stainless tubing to a valved stainless muffler all hand tig welded. This was built over the course of 3 weeks of time frame which I didn’t have. Once the exhaust was done that car would be leaving for tuning. Dustin Jantz with input and minor help from me got the whole system done in one afternoon. Tucked up as high as it can be and as straight as possible the Aluminized system came together. The part i’m normally most excited about are the tips.

This was no exception on this car, in fact it was one of the features of the car I was most excited about. On one of my previous AE86 I had 2 megaphone style tips turned up at around 60 degrees in a shotgun style. This was a pretty extreme looking set up and on a completely un muffled 13BT is was super loud. I was able to find these tips again and knew I wanted them to help tie this build to my previous. I didn’t want to run the tips up at such a high angle this time as they just got destroyed from wall taps last time. They were also quite heaty in terms of looks and I had burnt my shin walking into them while hot a few times.
Now that the exhaust was done it was time to top up all the fluids and take the car to AES auto for the wiring and tuning of the ECU. Paulo from AES had lots of experience and good results racing with the ECU masters brand so we decided to run their cheaper version the Classic. Once we had all the wiring mapped out Paulo started to pin the plug for the ECU, A few moments later when I went to get it off the shelf he realised he had sold the last one to a walk in customer and I was going to have to jump up to the black model. This ECU has 3 more analog inputs compared to EMU Classic, 3 low side switch inputs (for clutch switch, map switching, etc), 2 more available injector outputs (for 8 injectors sequentially), More failsafe strategies (leanout protection, etc). Comparative wheel speed traction control (compares front/rear wheel speed to determine and correct slip), Serial AND CAN (Classic only has serial and can be upgraded to CAN), On-board Drive By Wire control (Classic requires external module), IP66 waterproof rating, Can control Bosch 4.2 or 4.9 (Classic is 4.2 only) Basically it has a ton more features over the classic which is already stout with abilities. This was a late night but we finally had the car up and running.

I would have preferred to have had the car at least idling before getting to the dyno so I could check for any fluid leaks but such is life. Once we had it running and warmed up we did notice one small oil leak from one of the oil cooler fittings and the starter seemed to be weak. Feeling like we had accomplished what was needed we went home for the night. Before showing up the next day I had a new fitting and starter. Once those were in, we loaded the car on to the dyno and Paulo started going at it. I wanted a fairly conservative tune, my parameters were that that I wanted to be able to beat on this car all day long at an event and not have issues, I didn’t really care how high the final number was.
When all was said and done it was making 293HP at 7000 rpm and 244 Ft Lbs at 5500 RPM on 14lbs. This is with the stock injectors 370cc injectors and no boost solenoid. The injectors were at 87% duty cycle at this point and we will be able to increase those numbers quite a bit and move the peak torque down in the RPM range with the new injectors, boost solenoid and a more aggressive tune.

The next few days were spent on fitting the fenders, we had purchased a new, never fitted but quite rough set of JZX100 Nstyle flares a few years ago not knowing what the end goal of them would be. I loved the look of them with there almost concave appearance and then OEM looking flat fender edge, We started fitting the rear and they were pretty close so we decided to go ahead with them.

The fronts didn’t seem to fit very well so I ended up getting a set of universal ZG flares for the front. After almost a day of sanding and fitting the fronts we just weren’t happy with how they looked. I brought out the matching Nstyle flares that didn’t fit very well in the front, we all agreed that they weren’t as far off as we originally thought and that the extra effort needed to get them to fit would be worth it as they looked so much better and matched the rears.


Once the fenders were all fitted it was time to take the car to Nick at Nickle Automotive for the paint. Nick is no stranger to our ridiculous demands, having painted Gerard’s Aristo in a 48hr window literally the day before we left on our Cali trip. My car would be no exception with me dropping the car off on Sunday afternoon with us leaving on following Friday. On Monday we chose a colour and they stated blocking the car down, on Tuesday everything was ready and the car it self and the flares were sprayed. On Wednesday I picked up the car and started reassembling all of the door handles and trim pieces and put the flares back on.

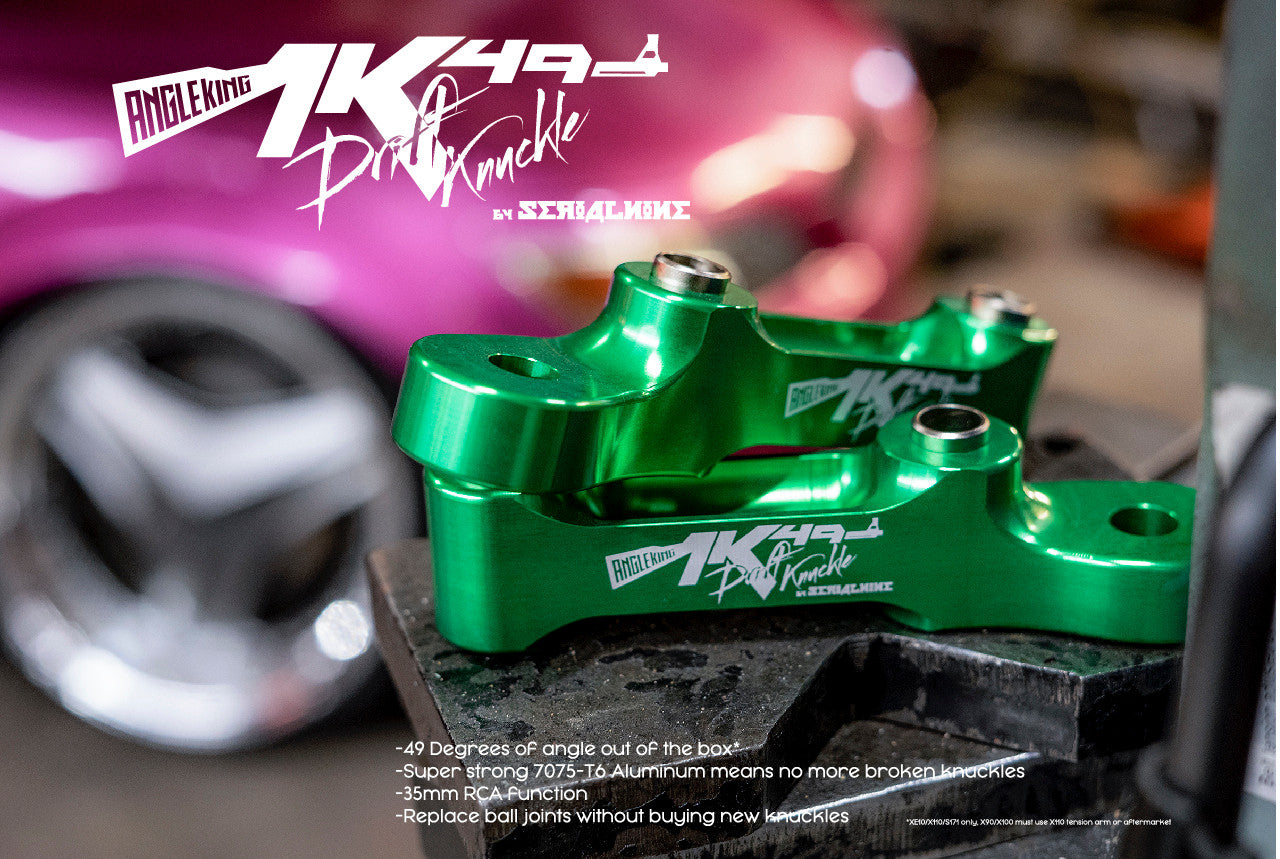
Now that it was done on the dyno and in the paint booth, I could install all of my new SERIALNINE suspension and lower down the stance coils. The rear suspension consists of SERIALNINE Sport style RUCA, Toe arm, Traction Arm, RLCA. The front is SERIALNINE FUCA, RCAs and shortened spindle that Dustin did on the Wednesday before leaving. Finishing off the front is OEM modified 20mm+ FLCA and Odyssey Fab Steering knuckles.

Thursday, I picked up all of the skirts and bumpers and hood needed to finish off the car. We spent most of the day reassembling the car and setting the suspension up. We were just finishing up the final touches on my car when G was testing his car. He had just got his drift new Veilside drift spares mounted and was booting around the shop. He was complaining about the something in the drive train slipping and not being able to put any power down. We were trying to figure out what could possibly be slipping in the drive train and the only thing that made sense was the clutch so leaving the shop Thursday night our plan was to put my car down first thing in the morning and get Gs car up on the hoist.

The Altezza was “done” I still hadn’t driven it with the new engine, transmission or suspension. The car still needed to be aligned and had no temp or oil pressure gauge but on to the trailer it goes as today was the day we leave for final bout. So on to the trailer it went and off to help G pull his tranny I went.
Continued in part 2 .... our travels.